This summer, I had to shuttle my kids between camps and sports practices. Since I can’t sit still and always need to be working on some sort of project, I thought it would be great to work on a Phlex on Rails video course, but I didn’t want to be inside banging on a keyboard all day.
What if I could hike to work?
Around that time, I saw Starlink Minis were half off. For $299, I could have 200 Mbps Internet from anywhere in California. That’s when the idea popped into my head: what if I shot a video course outside?
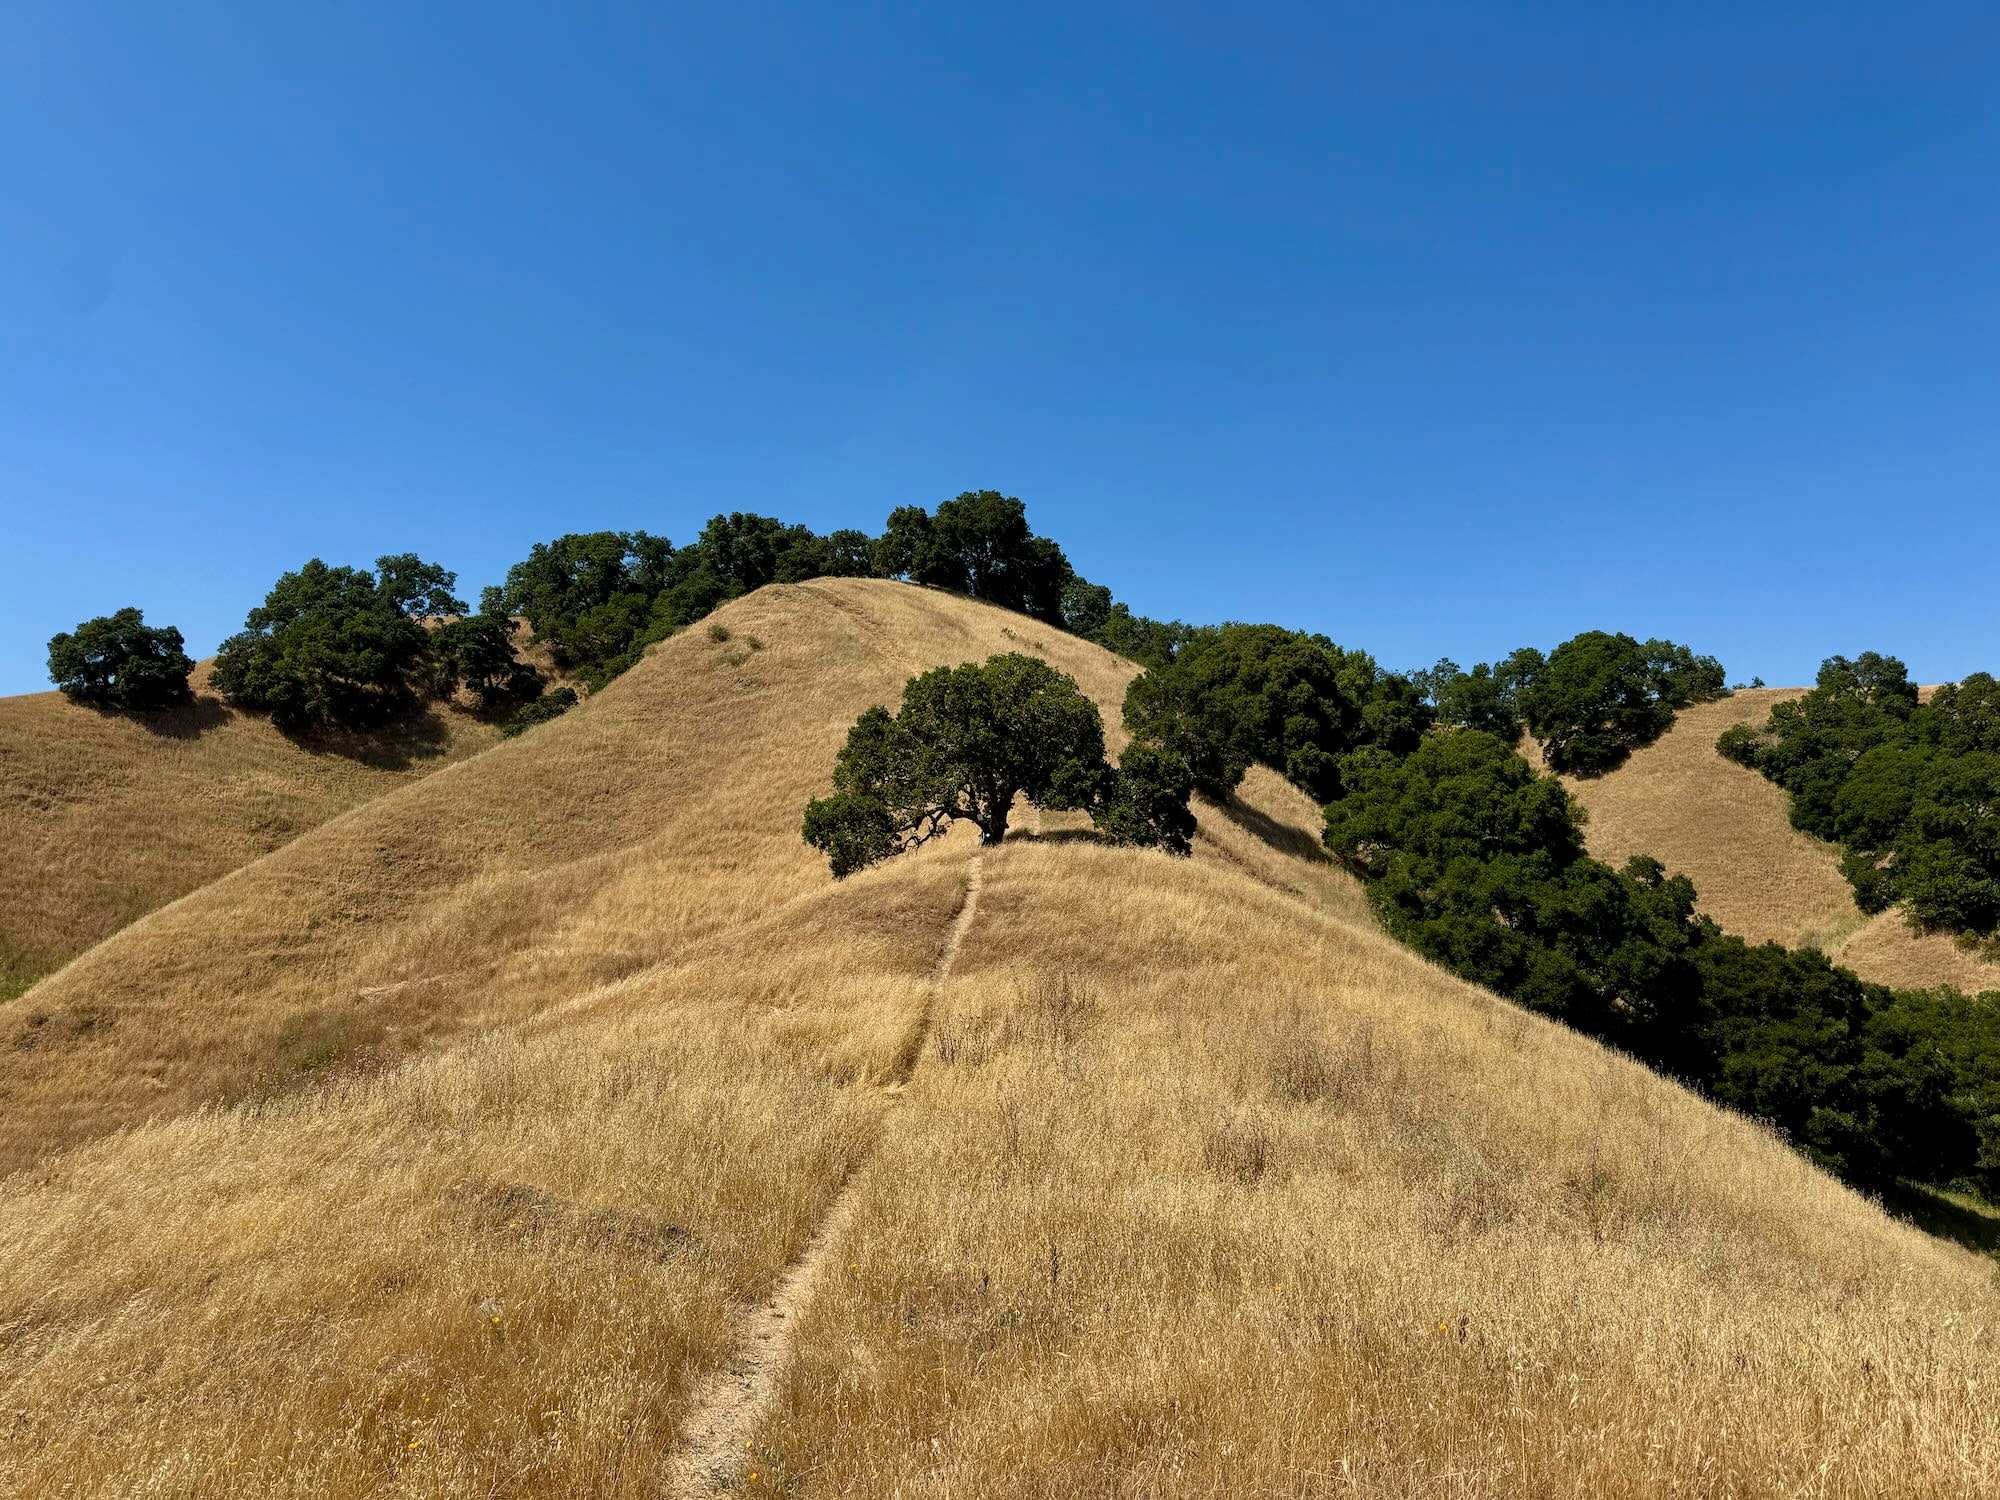
I live within a 15-minute drive of 8,000 acres of regional parks and nature preserves. The weather is usually sunny with temperatures from 60°F/16°C to 80°F/27°C during the day. I love being outside. It was obvious that I should figure out how to work outside, but I had to work out a few things first.
Portable standing desk
The first thing I thought of is how I’d comfortably use a computer outside all day. Two ideas popped into my head: use a tripod standing desk or buy a camping table. I gave each quite a bit of thought and decided I should pursue the tripod option first since it was the lightest and required fewer parts.
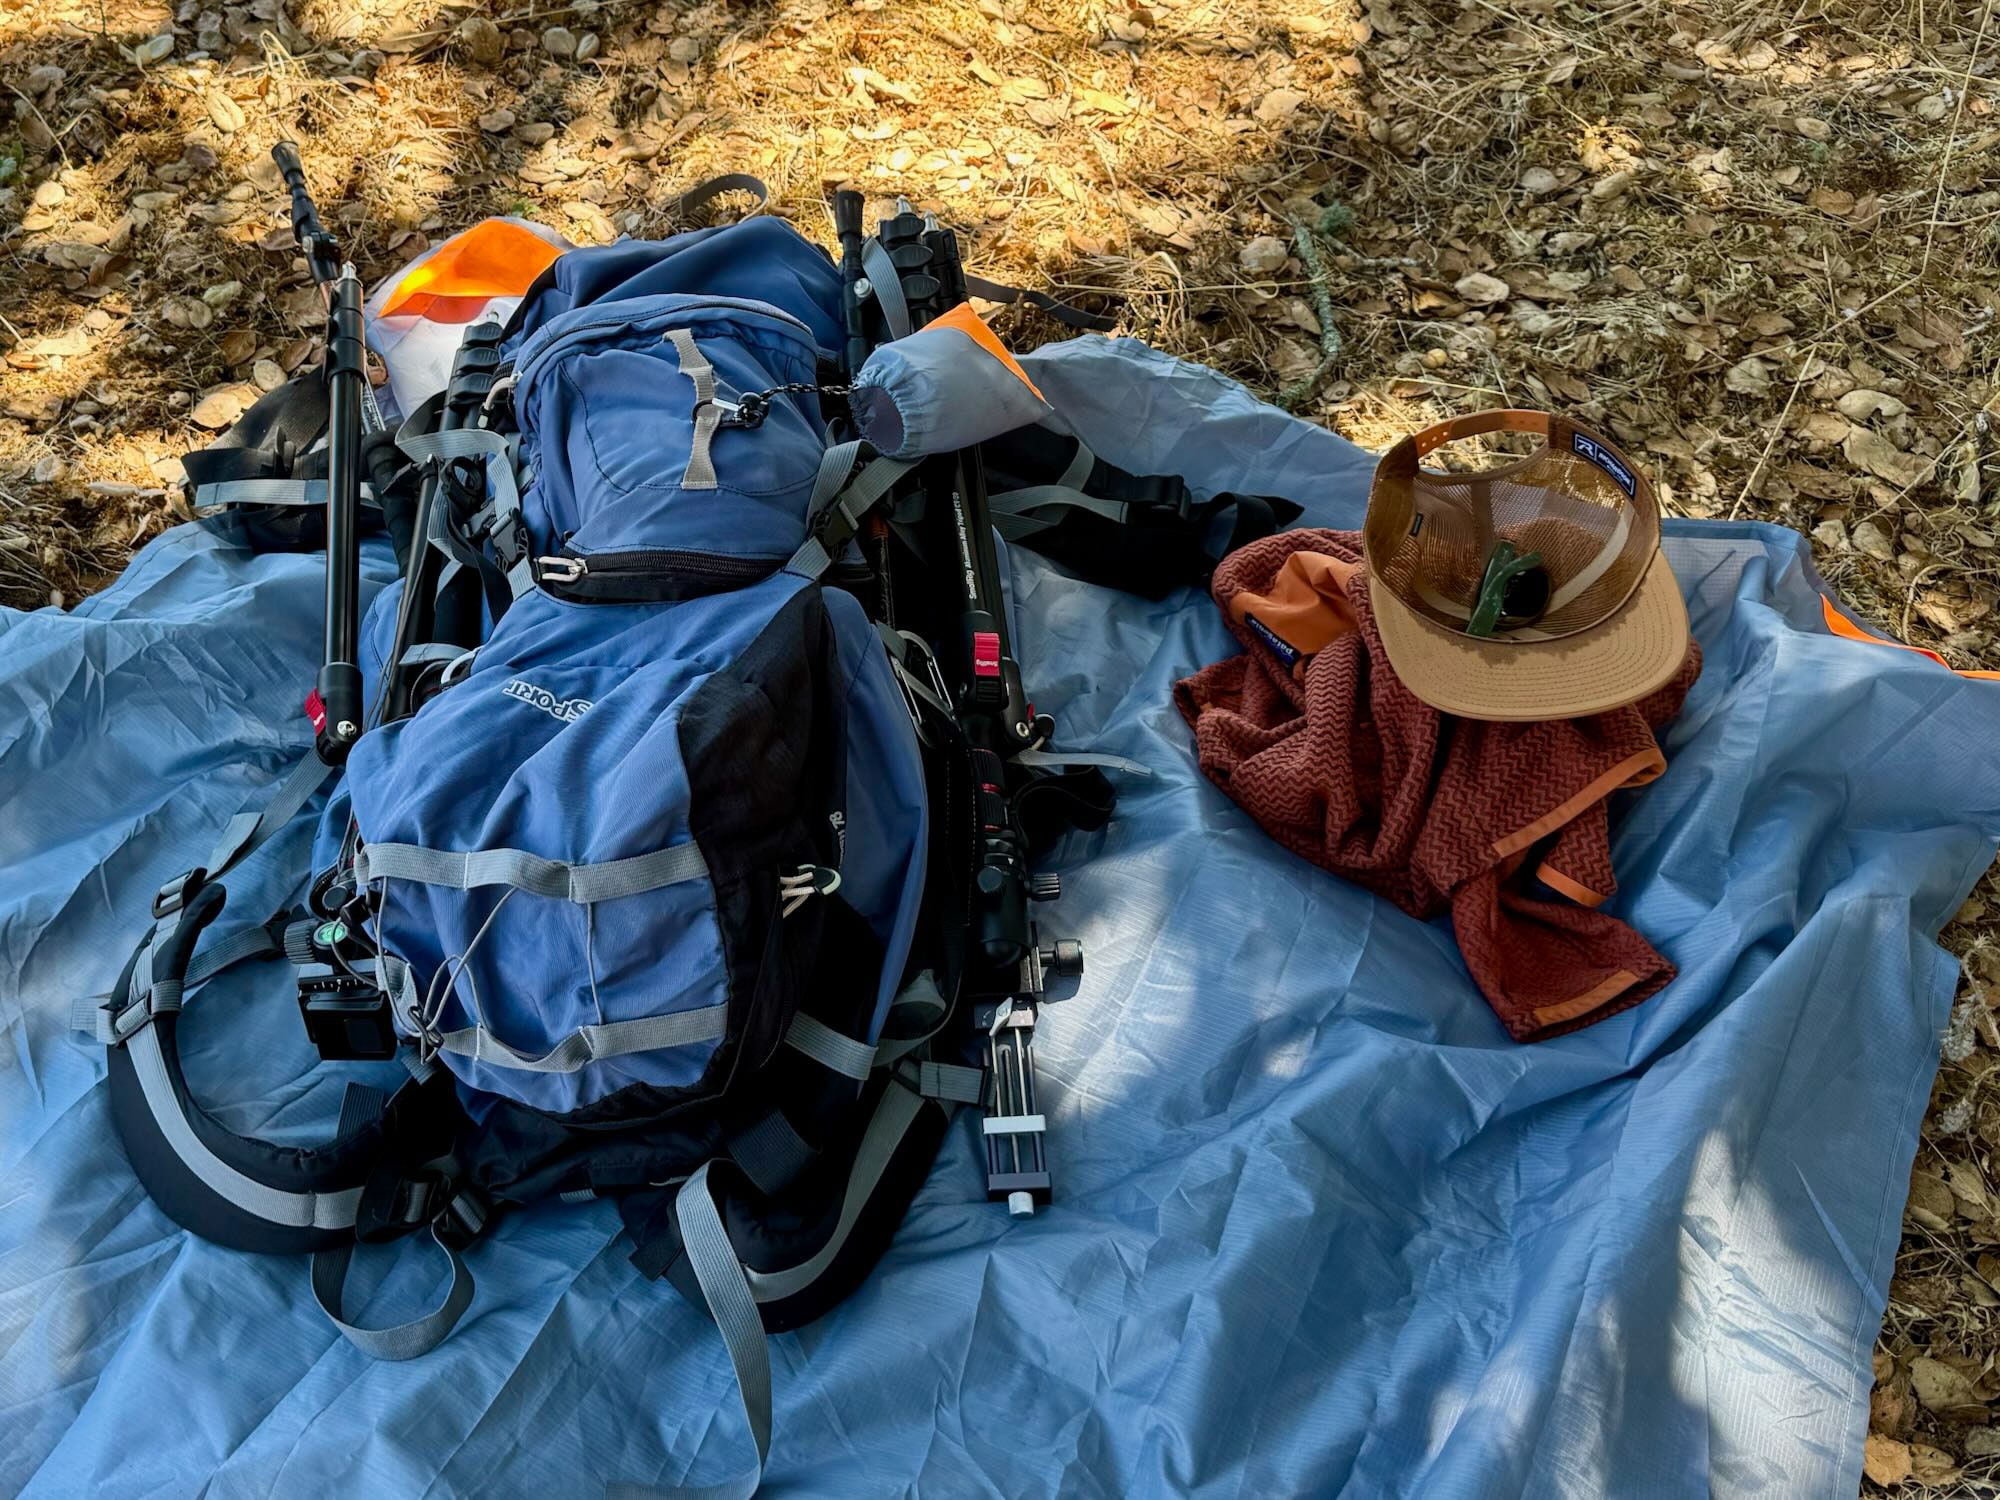
Behold the portable outdoor standing desk workstation! This was the first iteration, and it actually worked much better than I thought it would.

Here’s what you see in the picture:
MacBook Air
Nothing fancy, just an M2 MacBook Air that I’ve had for almost 3 years. Any laptop will do, but I recommend choosing one that isn’t too heavy and that you won’t mind getting a little beat up if you drop it outside.
SmallRig aluminum tripod stand
Since it’s going to take a few iterations for me to figure this out, I selected this tripod because it’s of decent quality, not terribly heavy, and not insanely expensive. I’m going to end up buying two of these because whatever I mount to the tripod is going to wobble a bit, even if it’s built like a tank.
Moonlander keyboard
I swore I’d never get into mechanical keyboards until my wrists started having problems a few years back. When that happened, I plunged into the split Moonlander keyboard and never looked back. I’m so hooked on it that I considered it an essential part of my portable workstation, despite it adding a bit of weight and volume to my pack.
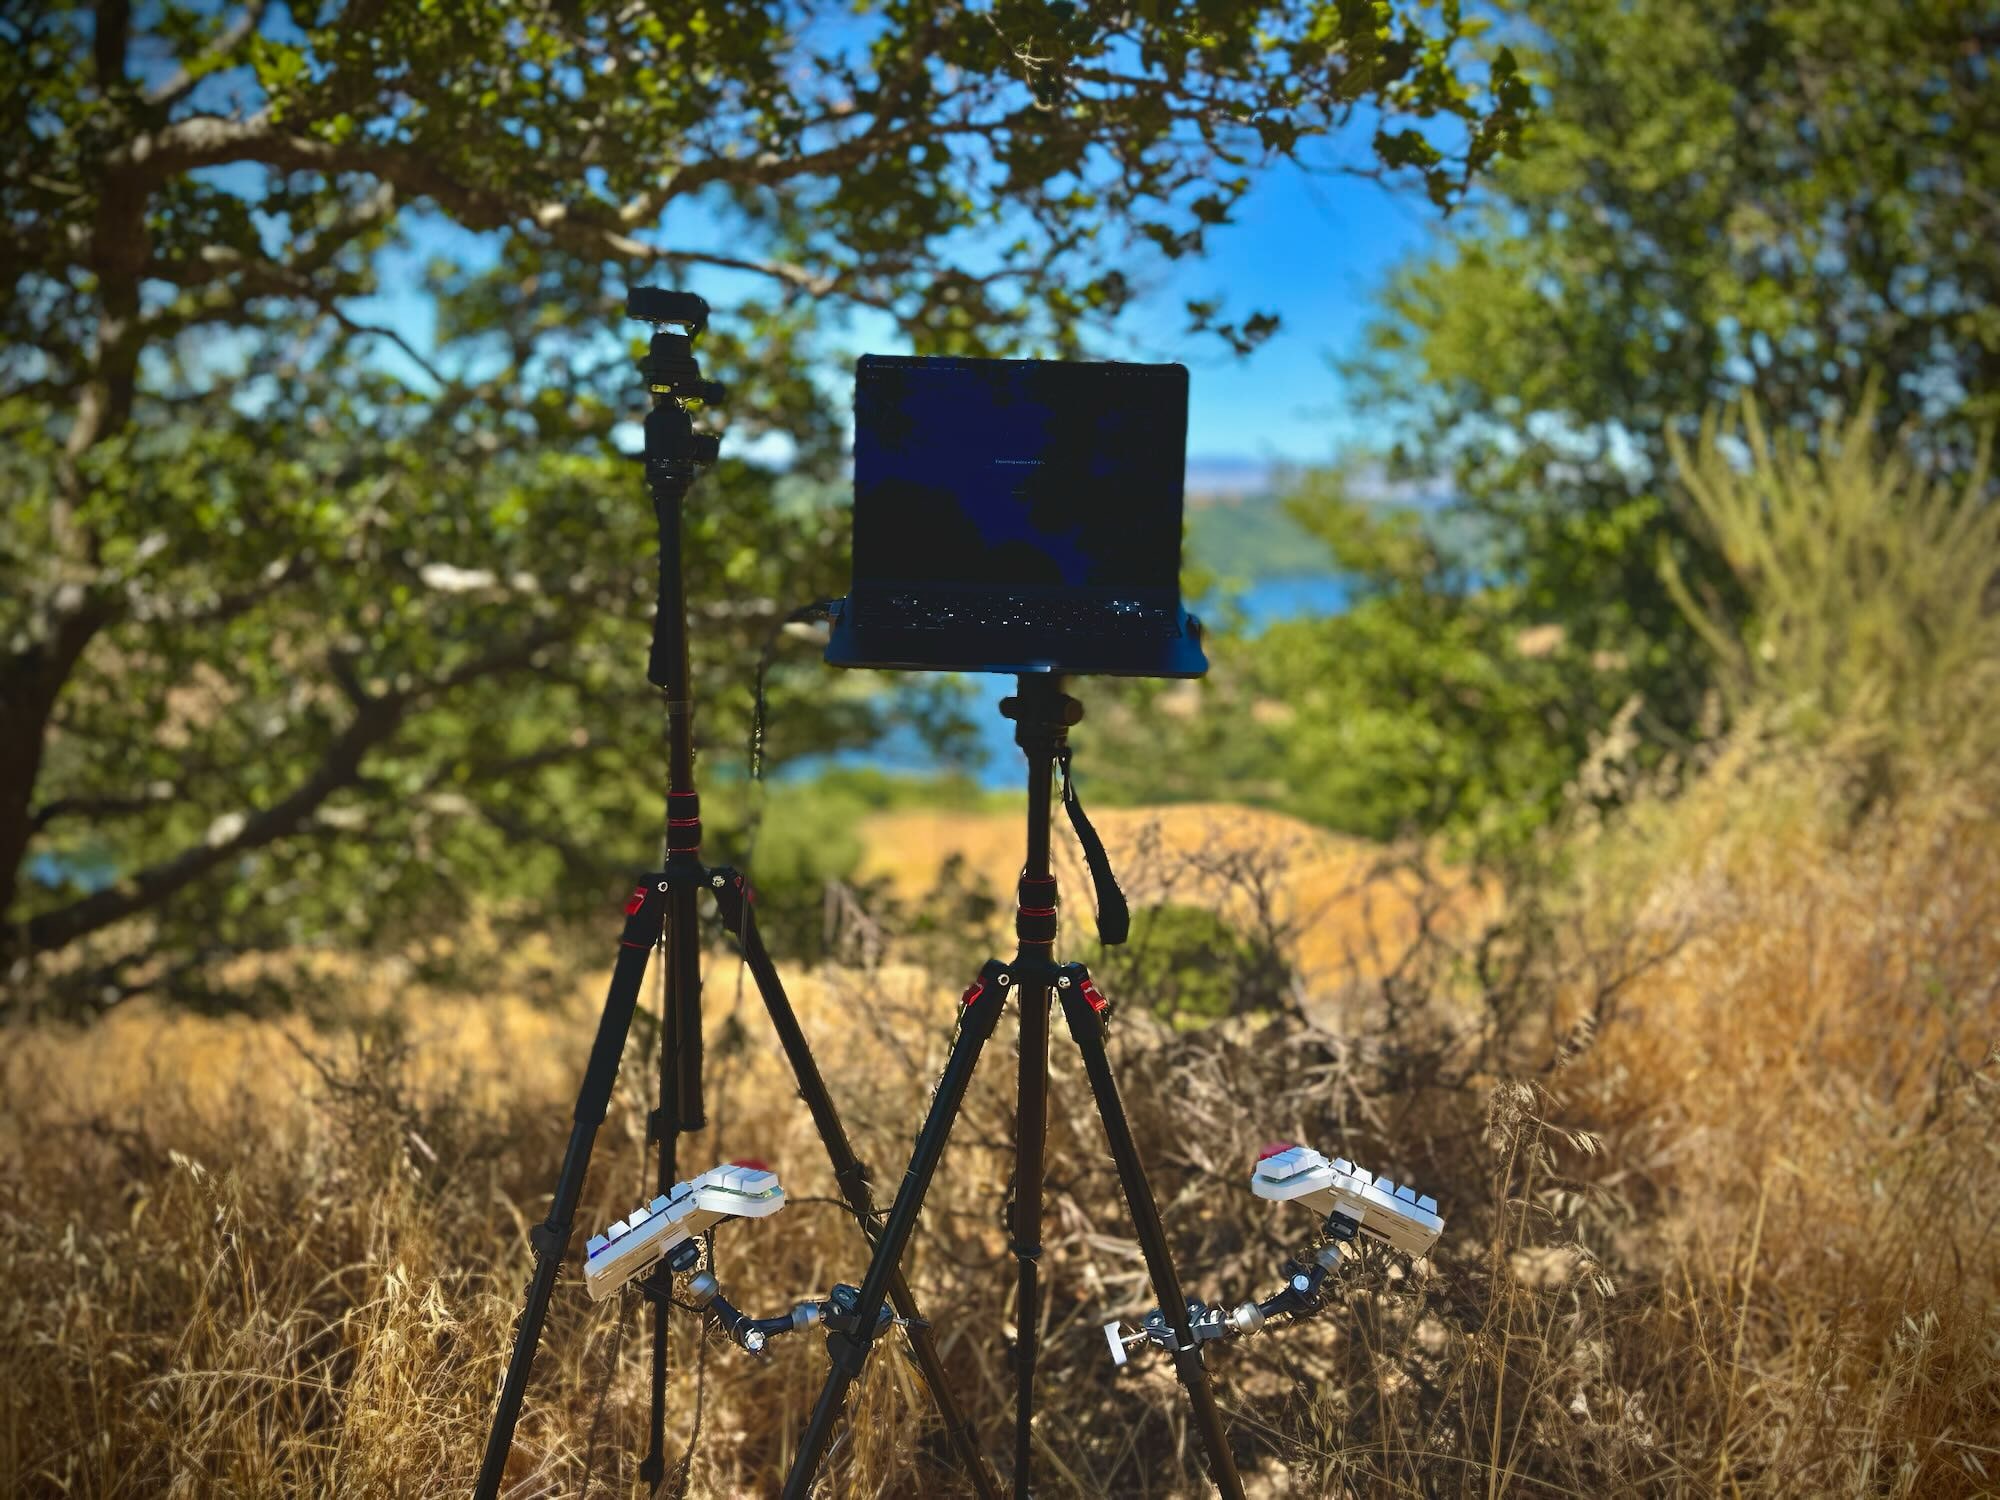
Laptop mount
Finding a lightweight way to clamp my laptop to the tripod was surprisingly difficult. I don’t have any specific recommendations other than to search Amazon for something that fits your laptop. I lucked out because most iPad Pro mounts fit my 13" MacBook Air.
Mounting the Moonlander keyboard
Lots of fiddly bits are needed to mount the Moonlander keyboard to the tripod.
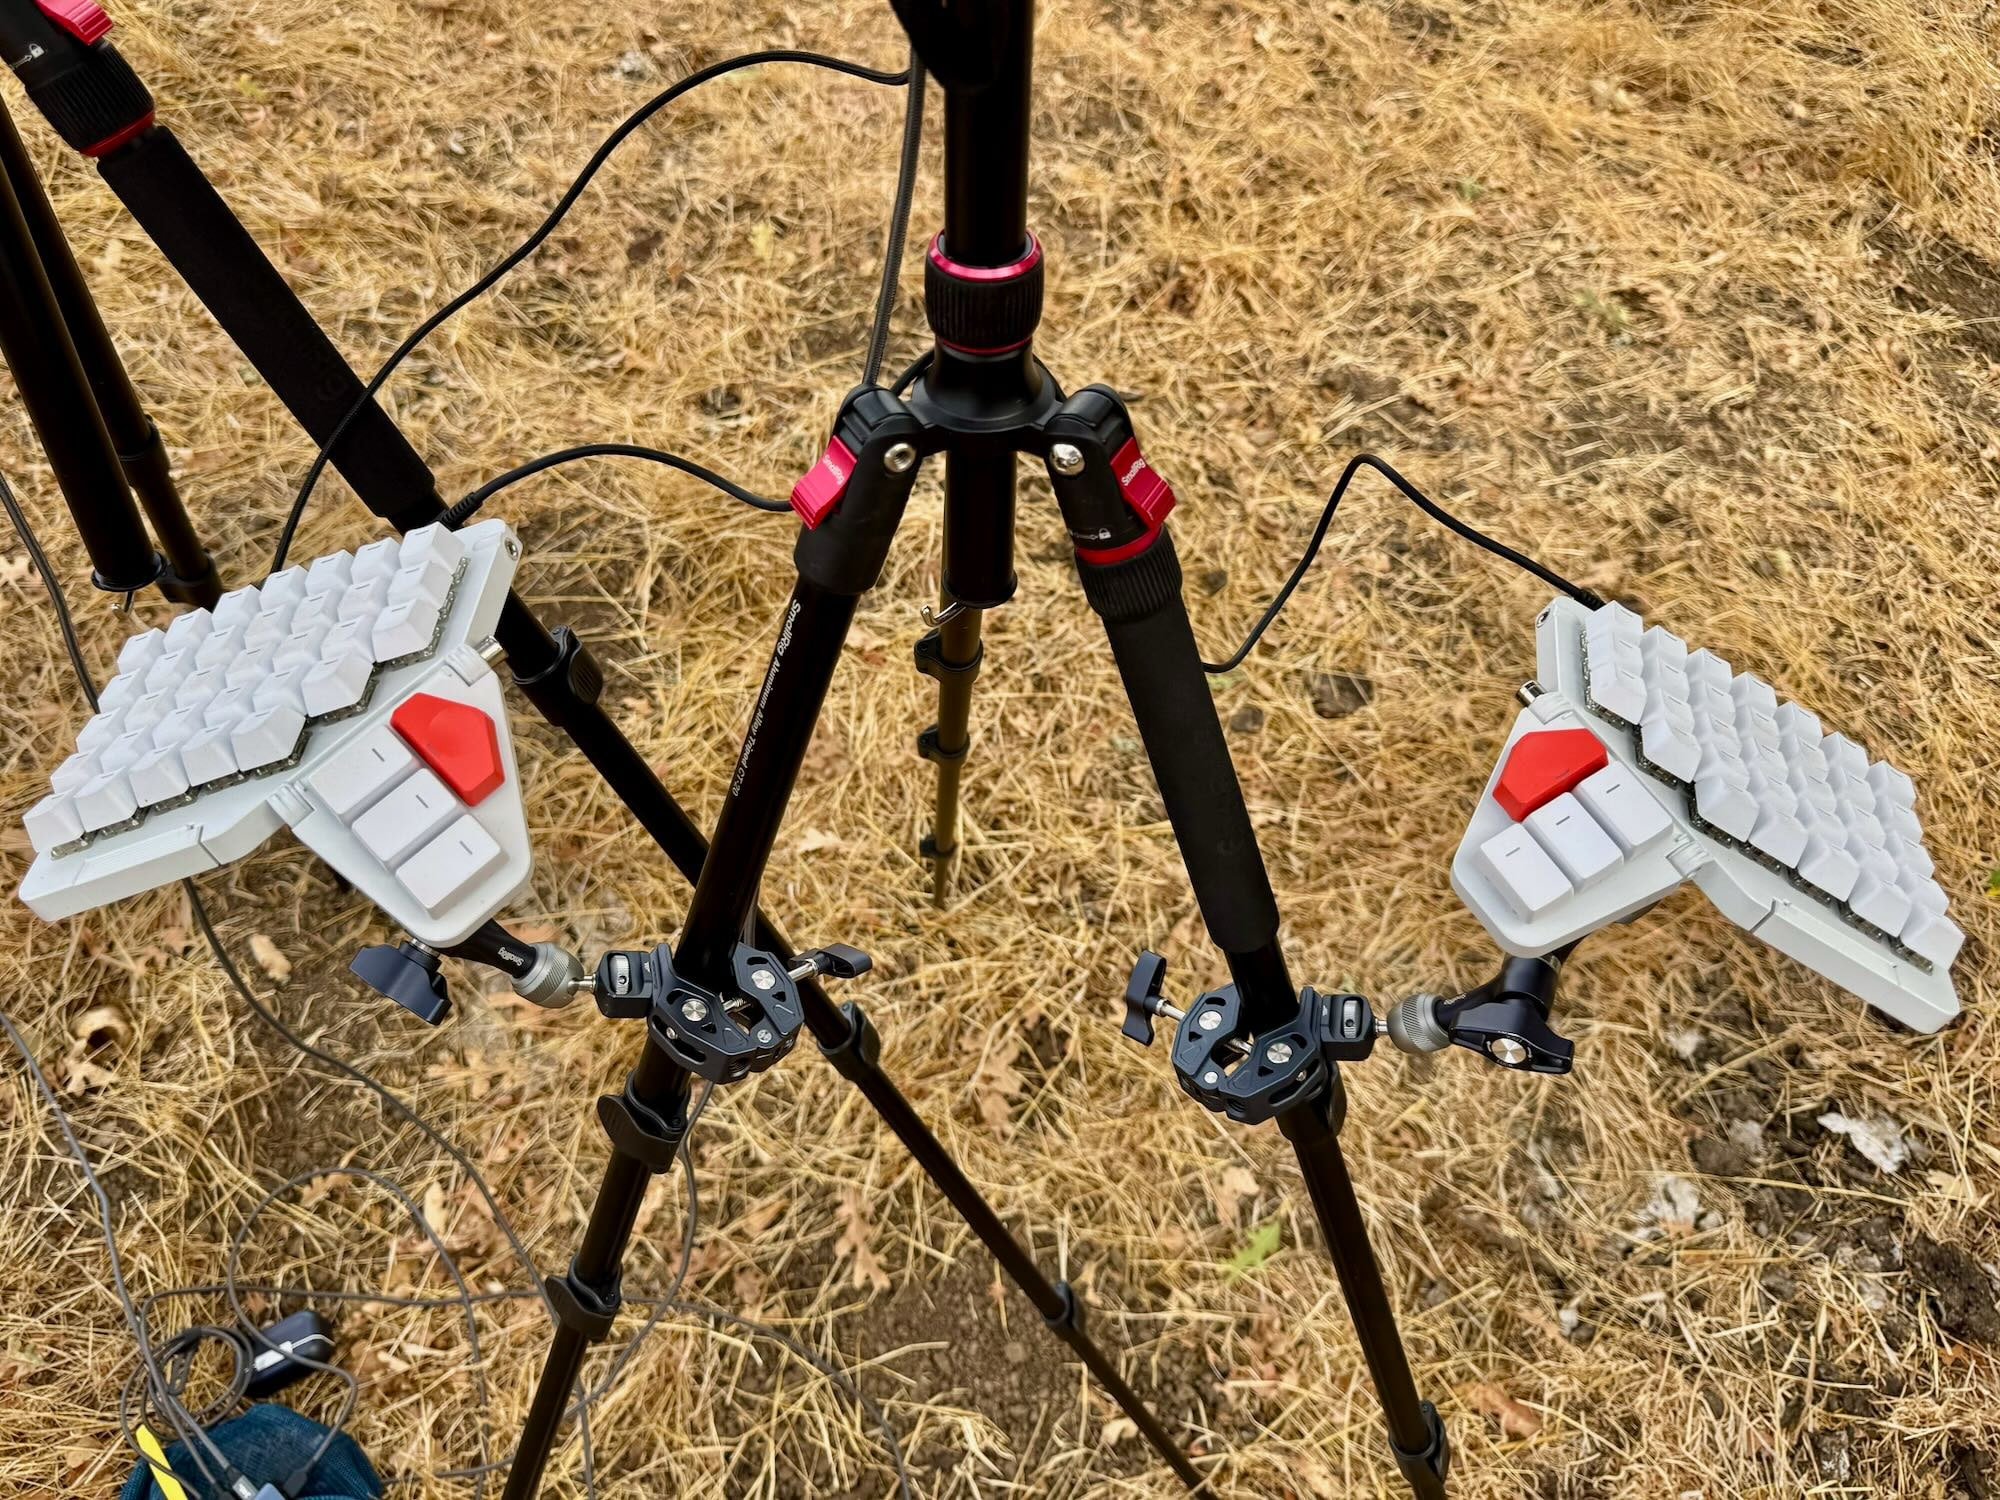
Moonlander tripod kit
The tripod kit is necessary to adapt the keyboard to camera hardware so it can be mounted to the tripod.
2 x SmallRig 3.5 kg clamp
SmallRig makes a lot of clamps. I found their Super Clamp was way too big. This 3.5 kg aluminum clamp was just the right size and was sturdy enough to hold up the keyboard and magic arm.
2 x SmallRig 7" Rosette Magic Arm
Between the SmallRig clamp and the Moonlander tripod kit is this magic arm. Make sure you get one with a rosette. If you accidentally pick up a friction arm, it won’t be able to hold the weight of your hands resting on the keyboard. The rosette arms lock into place with metal teeth when tightened.
Power & Internet
USB-C was an unsung hero in making all of this work. It effectively provided me with a DC power bus that I could use to power all my equipment without the need for an inverter.
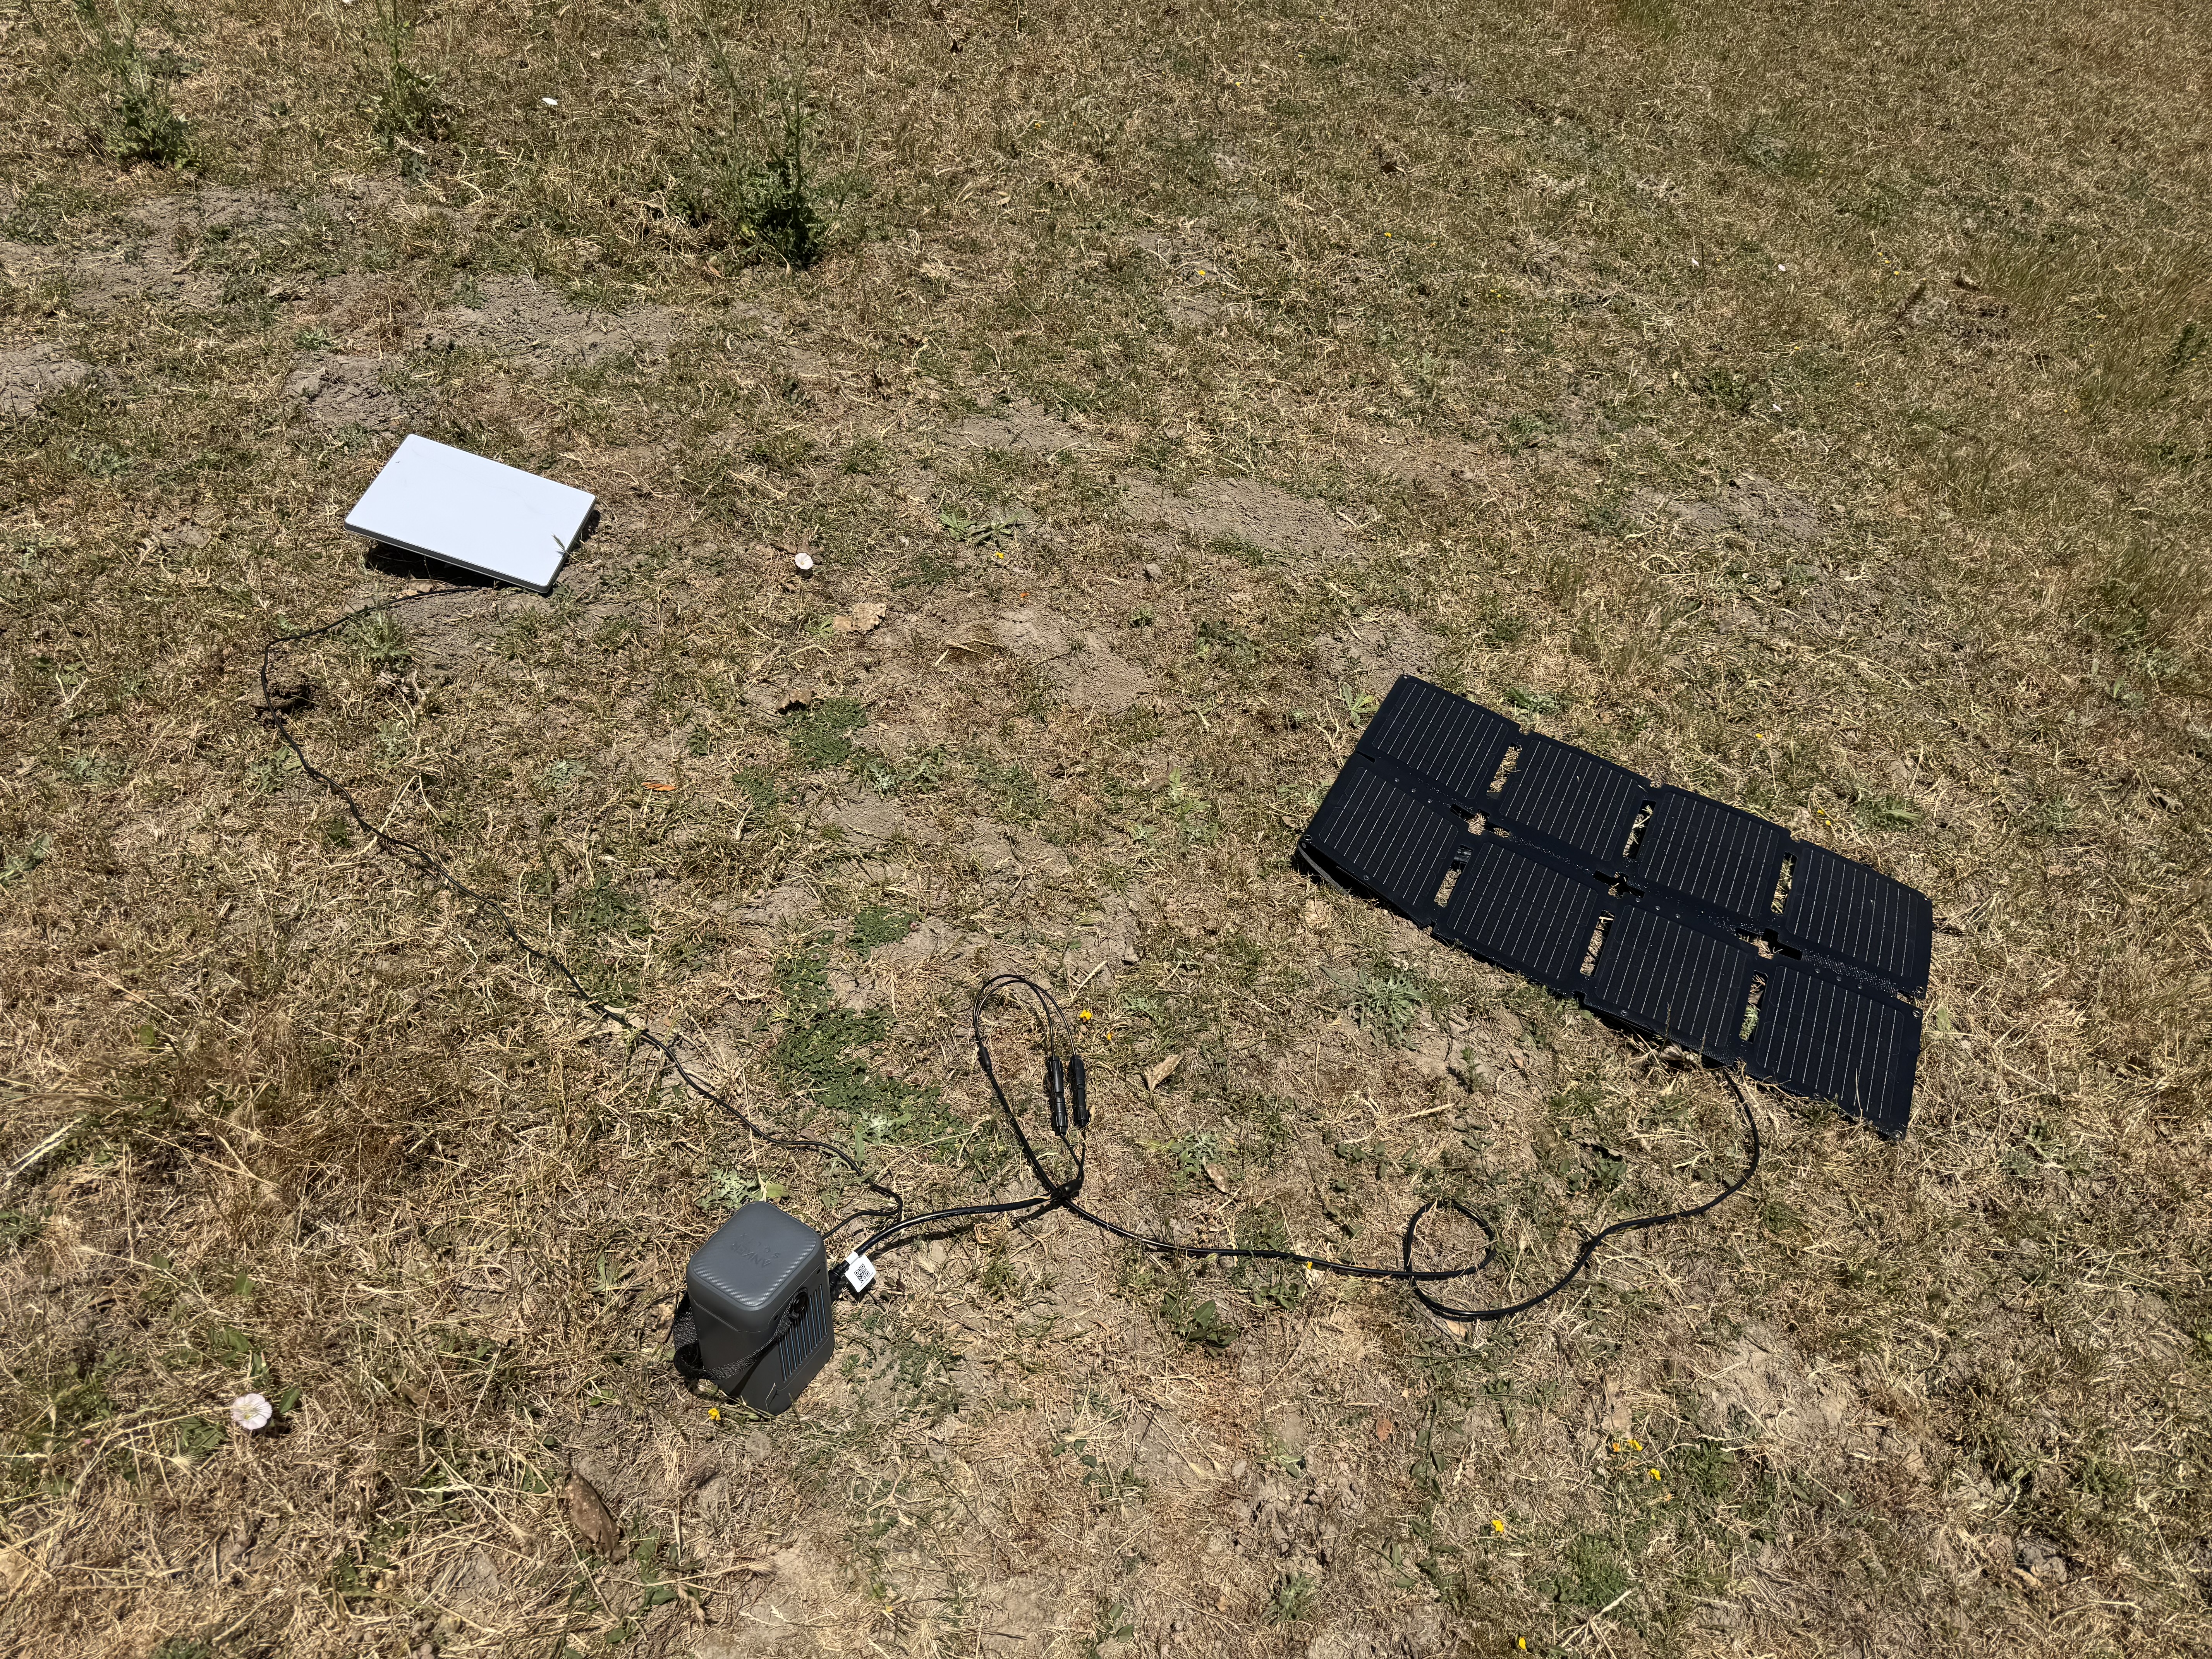
Starlink Mini
200 Mbps/25 Mbps Internet from pretty much anywhere in the world is simply amazing. Could I have shot this course without it? Probably, but it would have required much more planning, and I wouldn’t have been able to update the website, take Zoom calls in the field, and do what I normally do during a workday.
Anker C200 Solix Battery & 60W panel
I found that on a sunny day, the 60W solar panel could mostly keep the Starlink and MacBook Air powered. If I went out with a 100% battery, I’d come home after 6 hours with 80% left. Without the solar panel, the battery would last 60-90 minutes.
Starlink USB-C cable
Starlink Minis come with an AC power adapter. You’ll have to pick up a USB-C power cable to plug it into the Anker Solix 200.
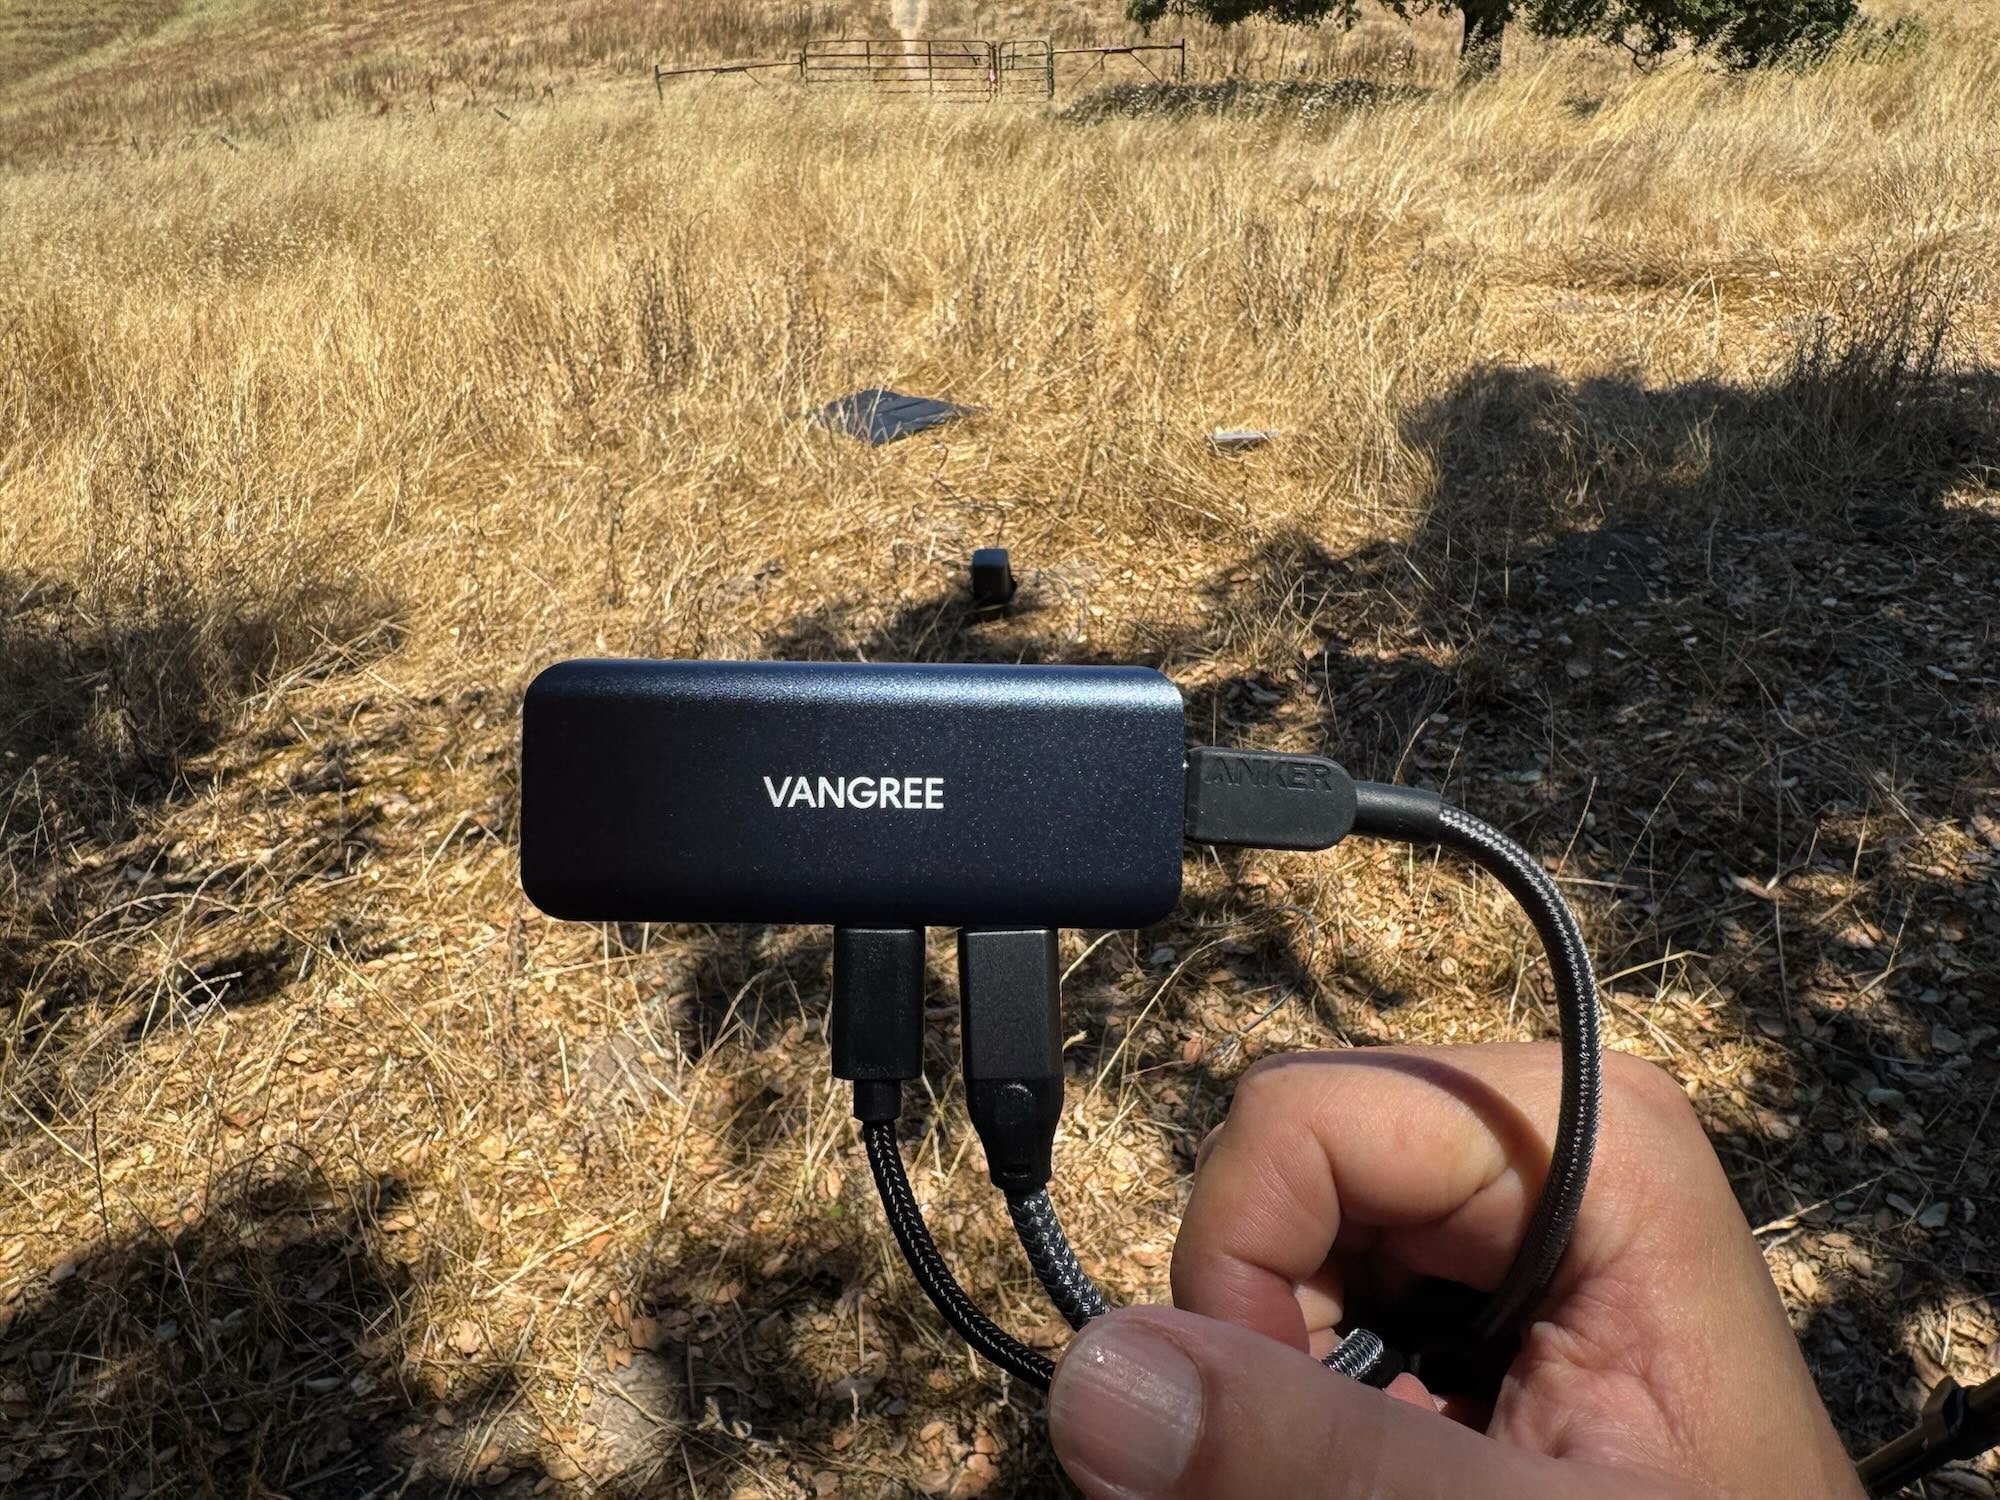
USB-C hub with removable cables
It’s surprisingly difficult to find USB-C hubs that only have USB-C ports with fully removable cables. Most hubs like this have a 1-inch USB-C cable that’s non-removable, which means you’d have a mess of wires hanging directly off your laptop attached to the tripod.
Camera & mics
I didn’t get too fancy with this equipment because I didn’t want to get caught up evaluating gear and had to keep weight low since I had to hike this stuff to where I’d work for the day.
Insta360 Link 2
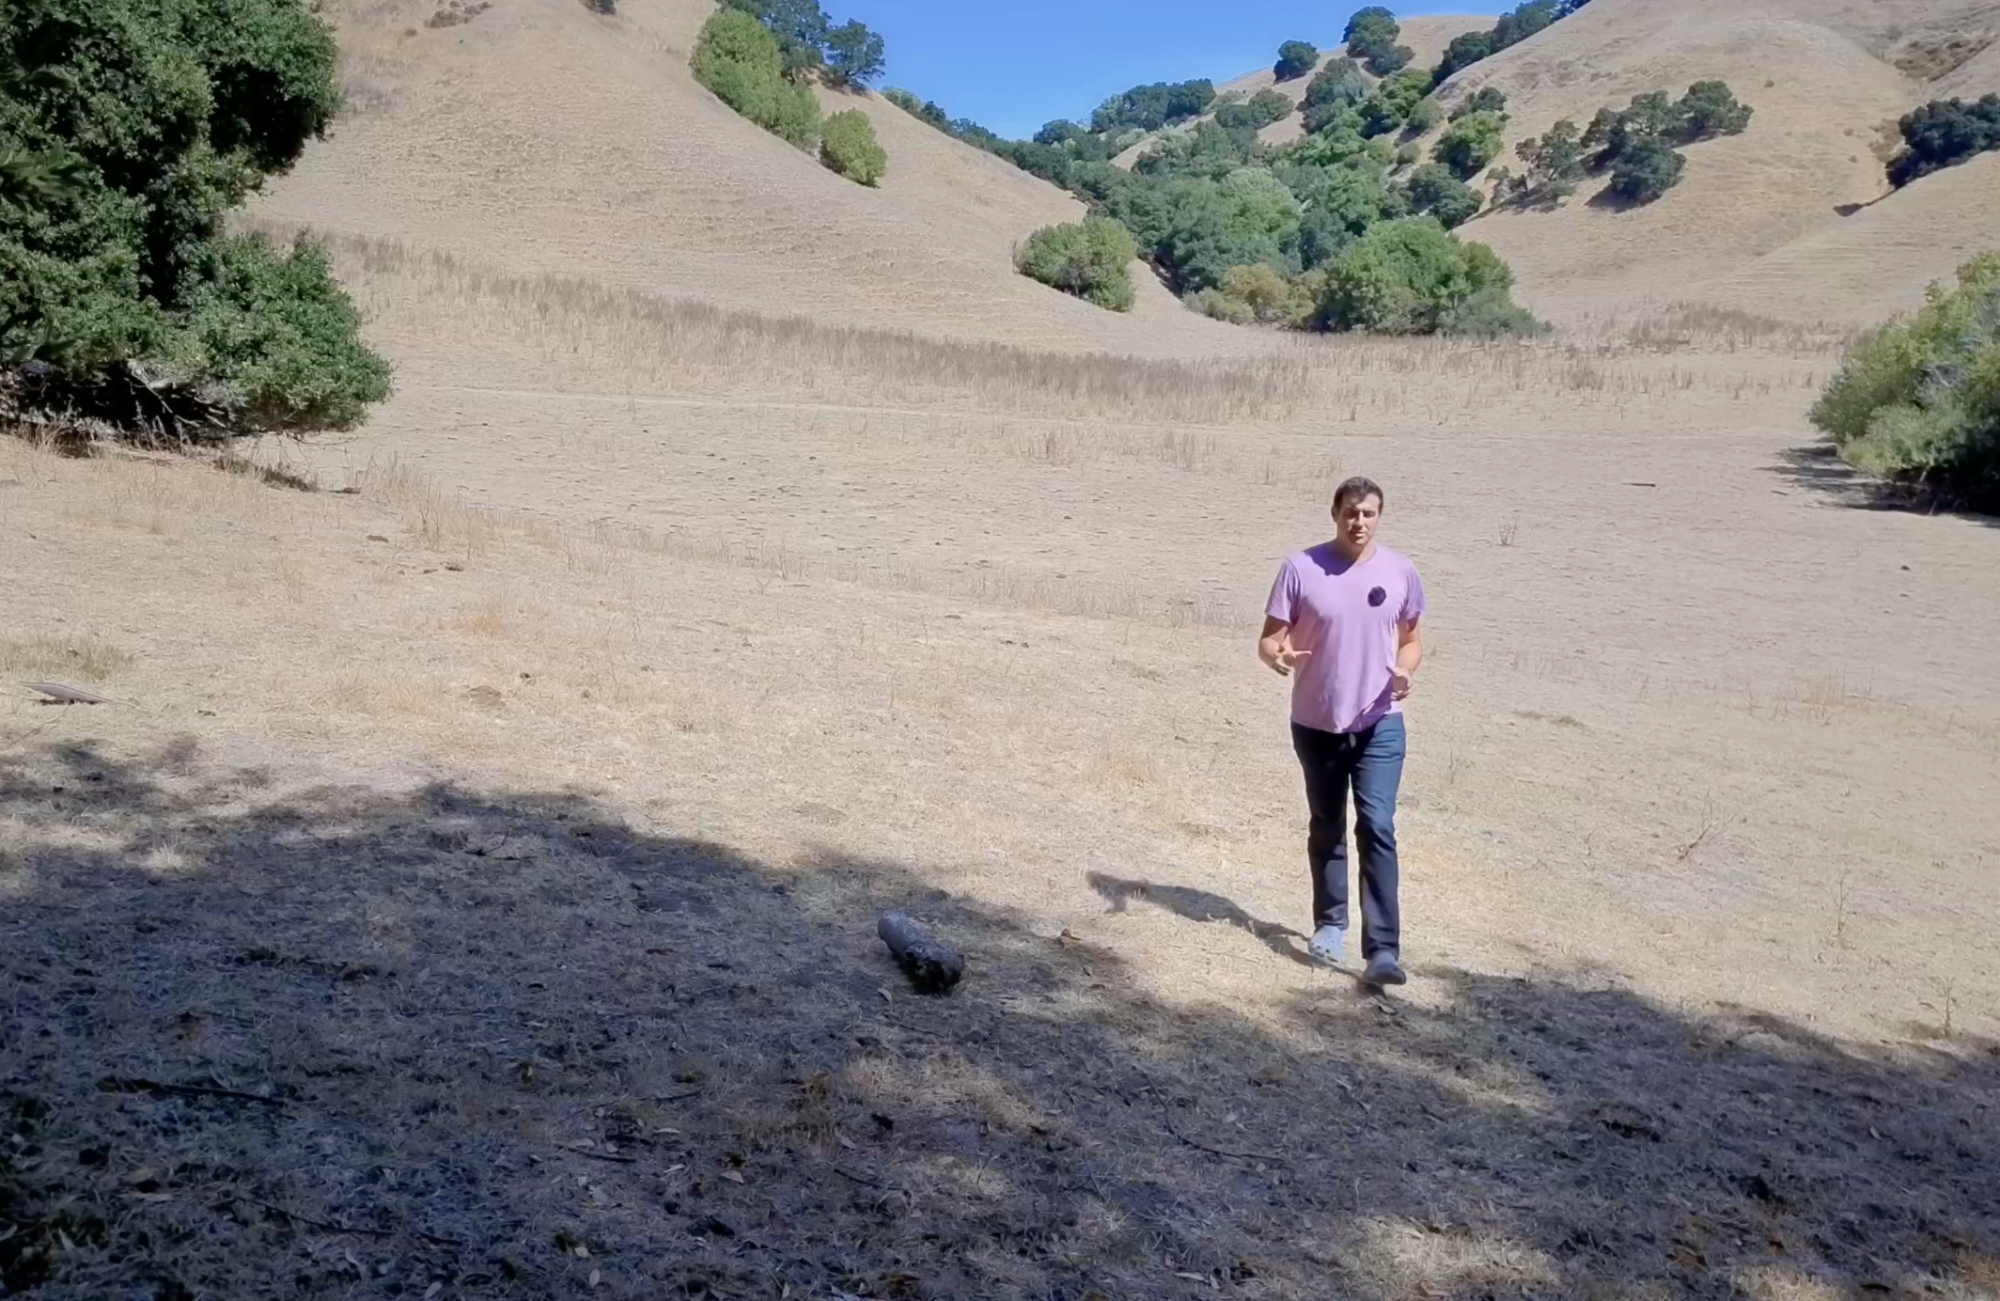
I knew going into this that the built-in camera on my MacBook Air wasn’t going to be enough to make some of the shots I wanted, but I didn’t want to get too carried away with a full-blown camera because they’re heavy and complicated. The Insta360 Link 2 struck the right balance because it was higher quality than Apple’s cameras and had a motorized tracking system to get my long shots, like in the Hotwire overview video.
👎 Hollyland Lark M2 Wireless Microphone 👎
Don’t buy this thing if you’re going to be recording audio outside. It’s actually a decent mic that would be great for indoor use, but when recording outside in windy conditions, the windscreen has to be put on it and it’s a pain to get on and off.
Fits into a hiking backpack
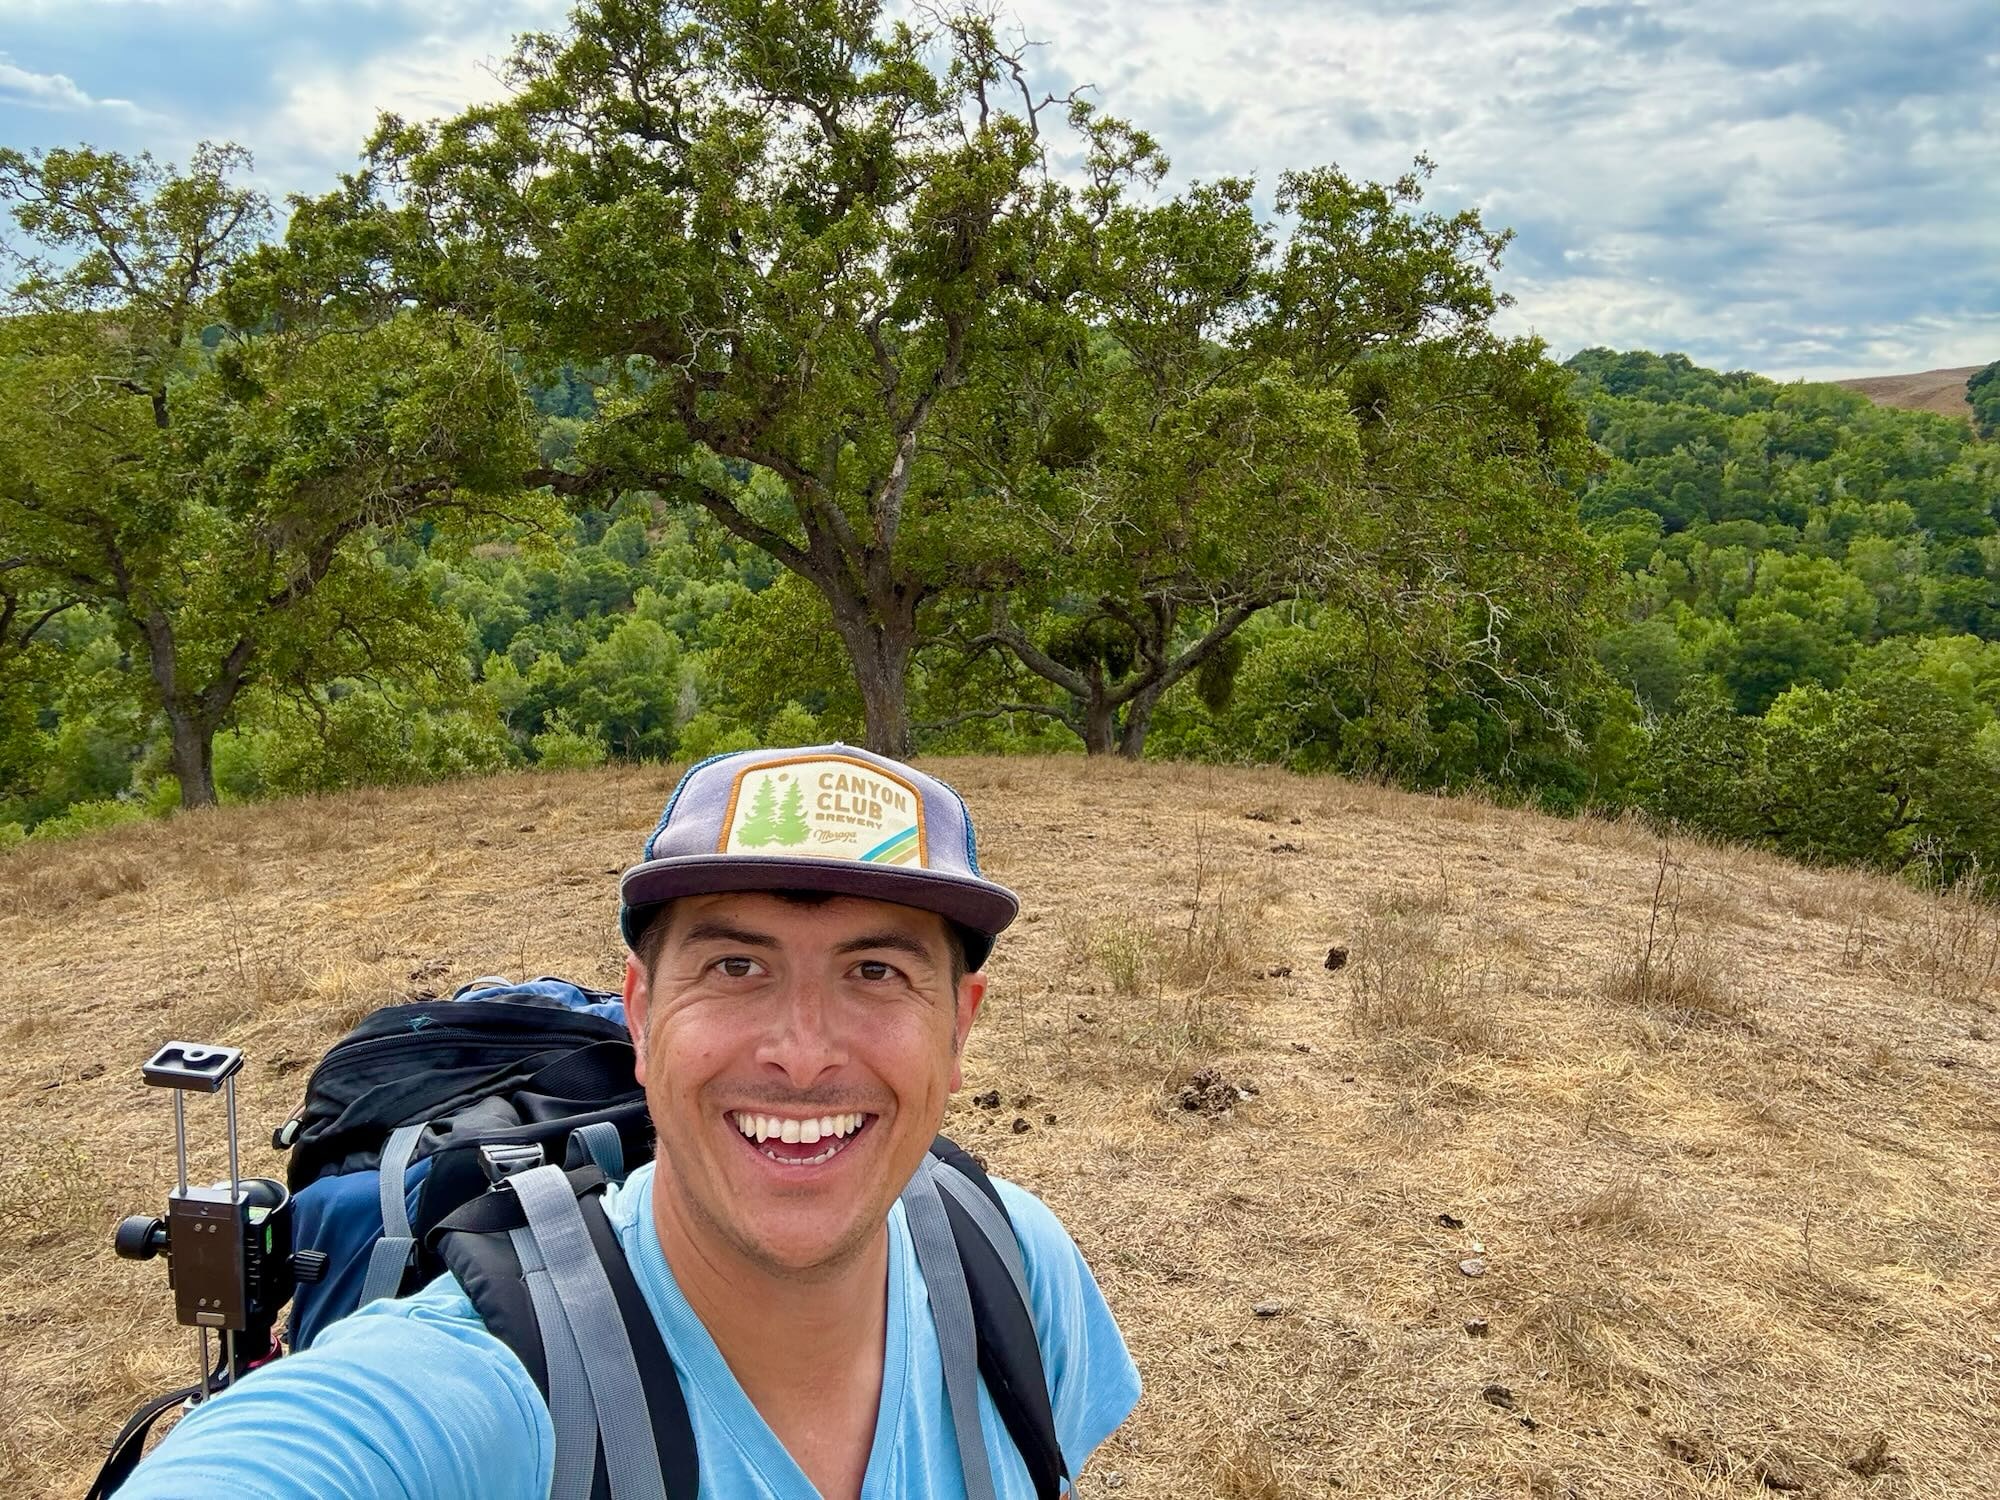
Fully loaded, my backpack weighed in at 35 lb/16 kg, including 2 liters of water and lunch.
A few problems
It was my first time putting this whole stack together, and naturally I ran into a few problems.
Wobbly camera
As I was writing the outline for Phlex on Rails, I took my rig out hiking because I knew I’d run into problems. It didn’t take long to realize my camera wobbled when I typed on the single tripod.
The fix? I ordered a second tripod that I’ll either mount an external camera on so it doesn’t wobble, or I’ll move the keyboard to it.
Microphone dongle
The USB-C power cable plugged into the laptop occupied the port right next to the T-shaped microphone dongle, so I couldn’t plug the mic into the rig.
SmallRig tripods vibrate apart
I’m pretty sure I’m “holding it wrong”, but I had problems with threaded hardware on the SmallRig tripods becoming loose while I hiked and falling off. The metal feet that screw onto the bottom of the tripod are particularly prone to this problem. After I lost a few of those, I bought some threadlocker and put a dab of blue on the leg tips. That put an end to losing those parts, but I found the center mount still had this issue, and it’s a bad idea to put threadlocker on it.
Wind blows over laptops on tripods
One of my favorite spots that was easy to access was at the top of this hill.
Under this tree.
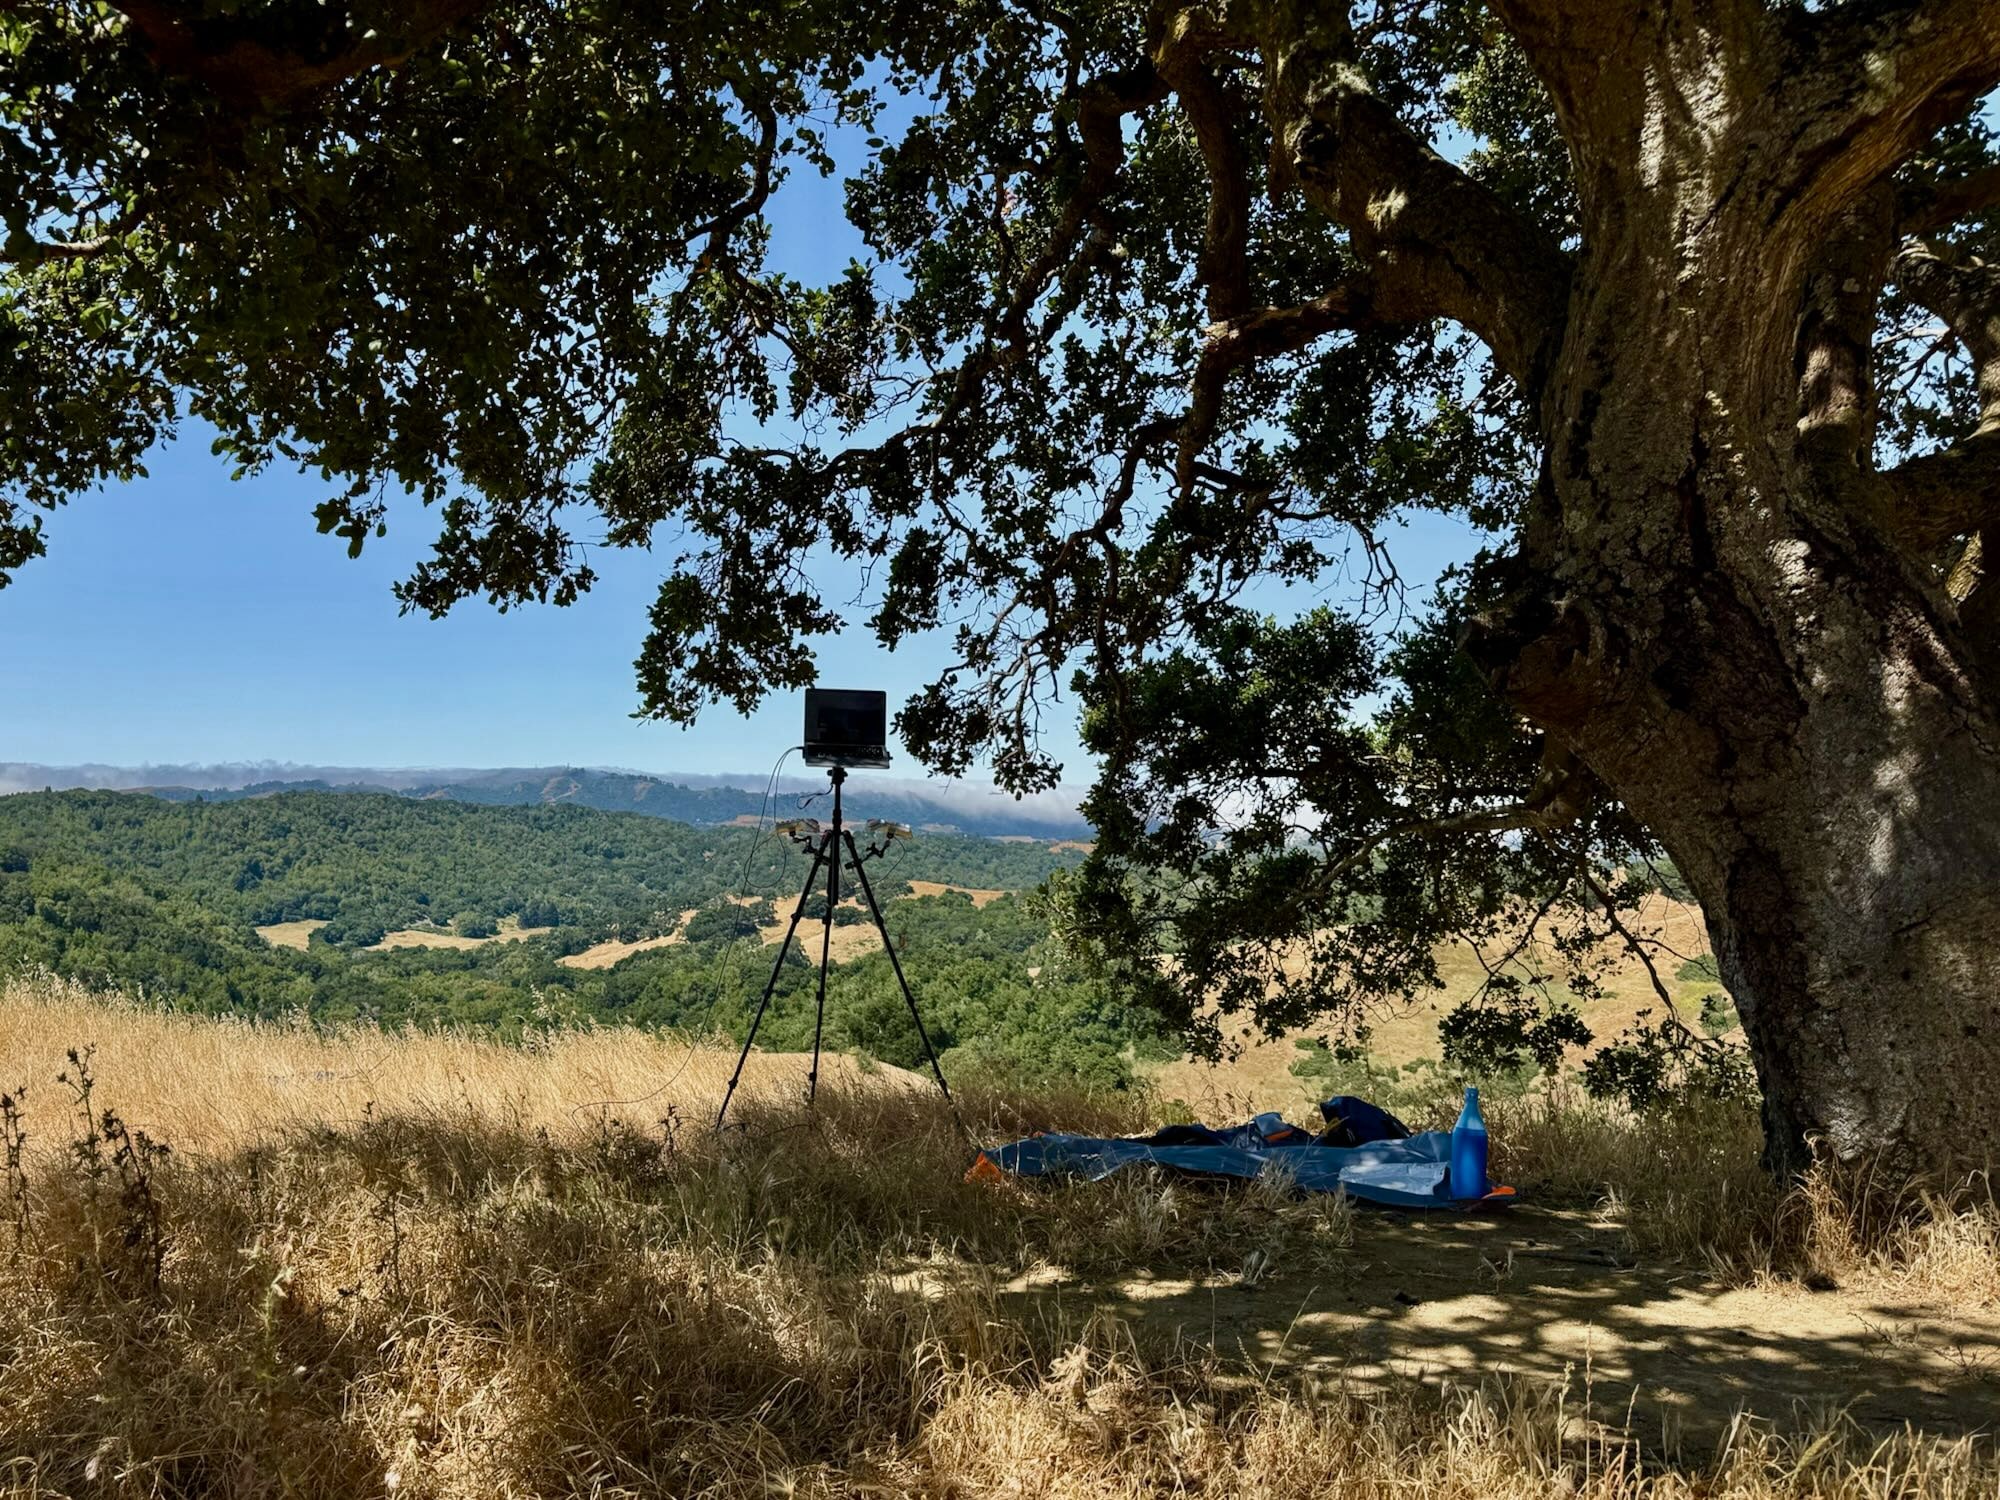
It was fantastic until around 3 p.m. in the afternoon when the wind would start ripping through the valley. There were a few times when a gust blew hard enough that my tripod and laptop blew over.
The fix? I stopped working from the top of that hill if I knew I was going to be around until later in the afternoon.
Pleasant surprises
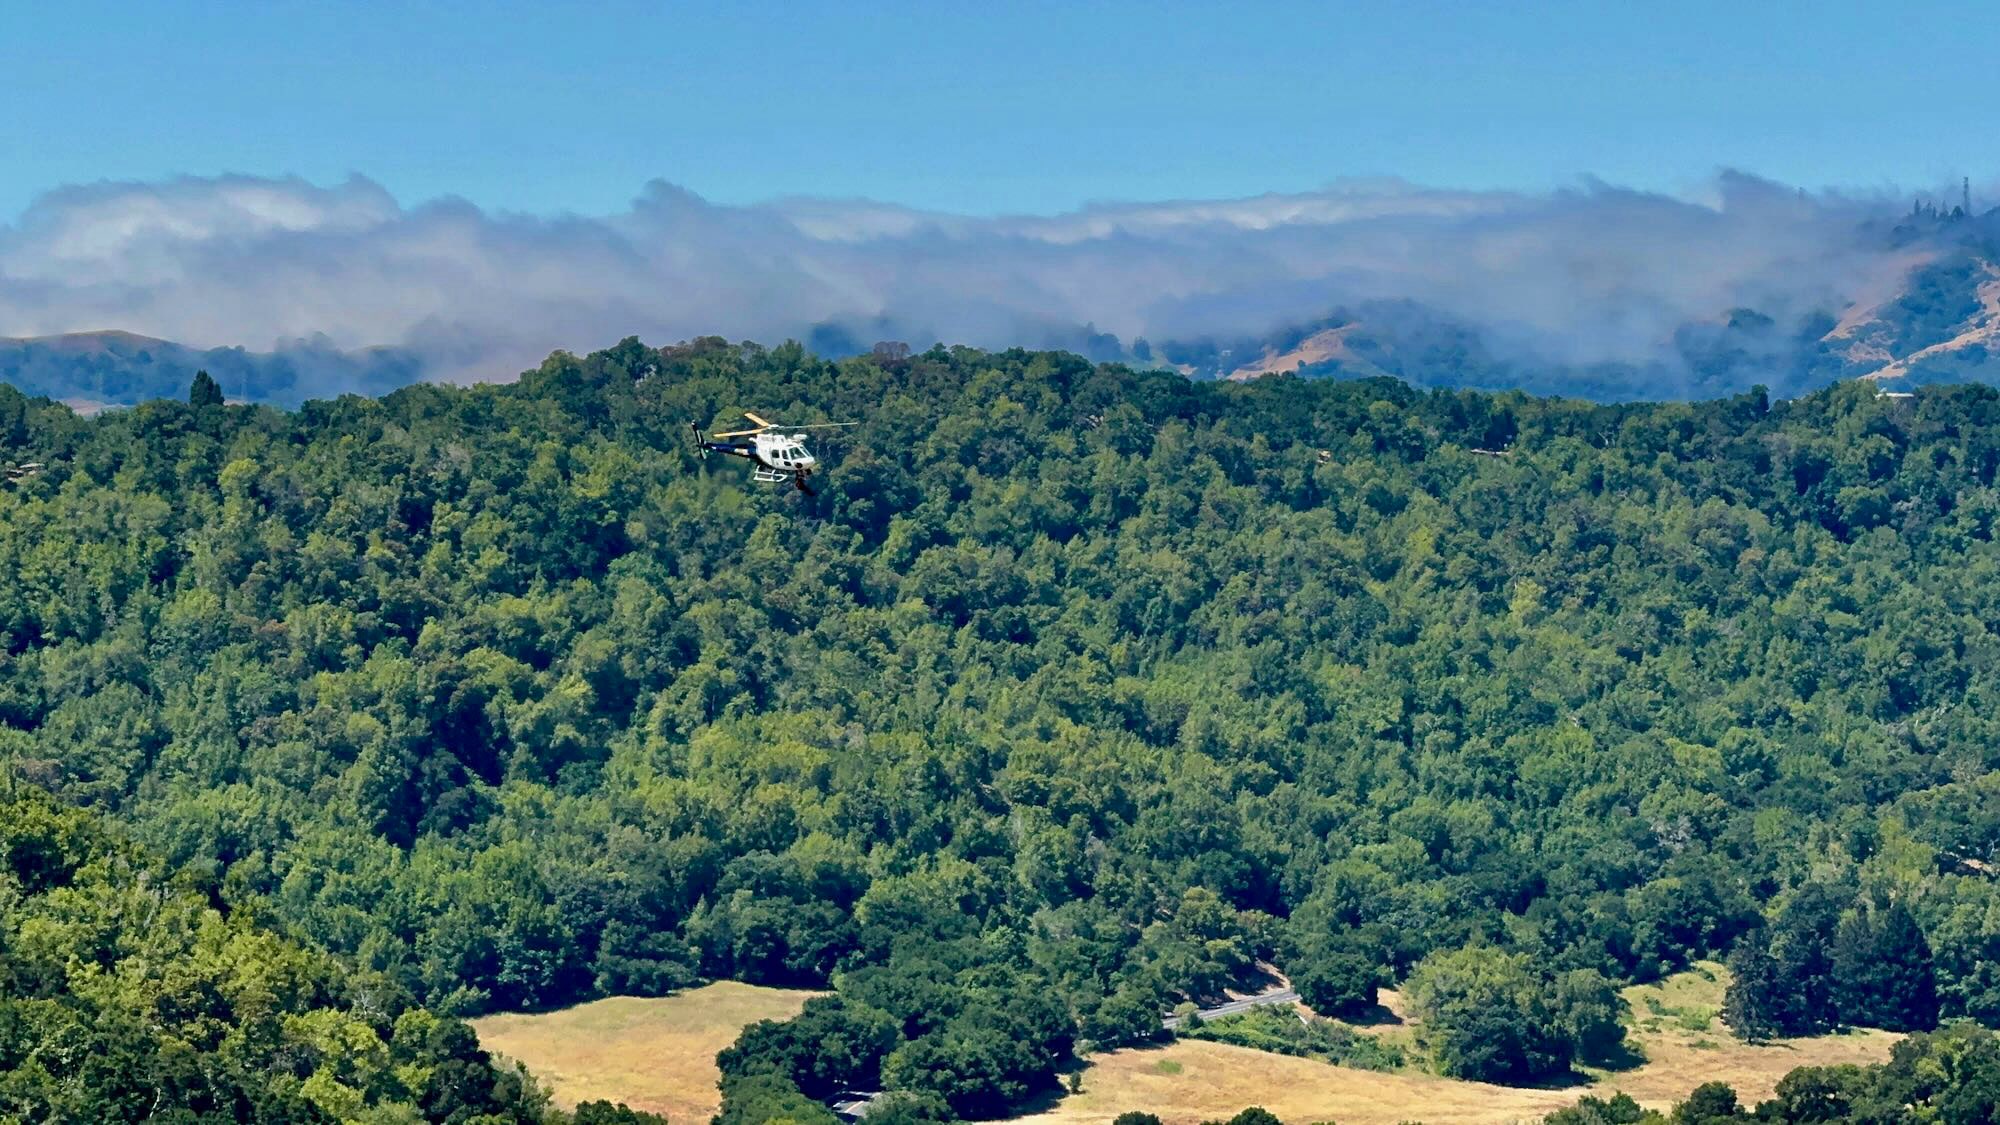
Aside from the natural beauty that’s constantly on display outside in the Bay Area, I got to see some cool stuff like Cal Fire practicing wildfire fighting with helicopters.
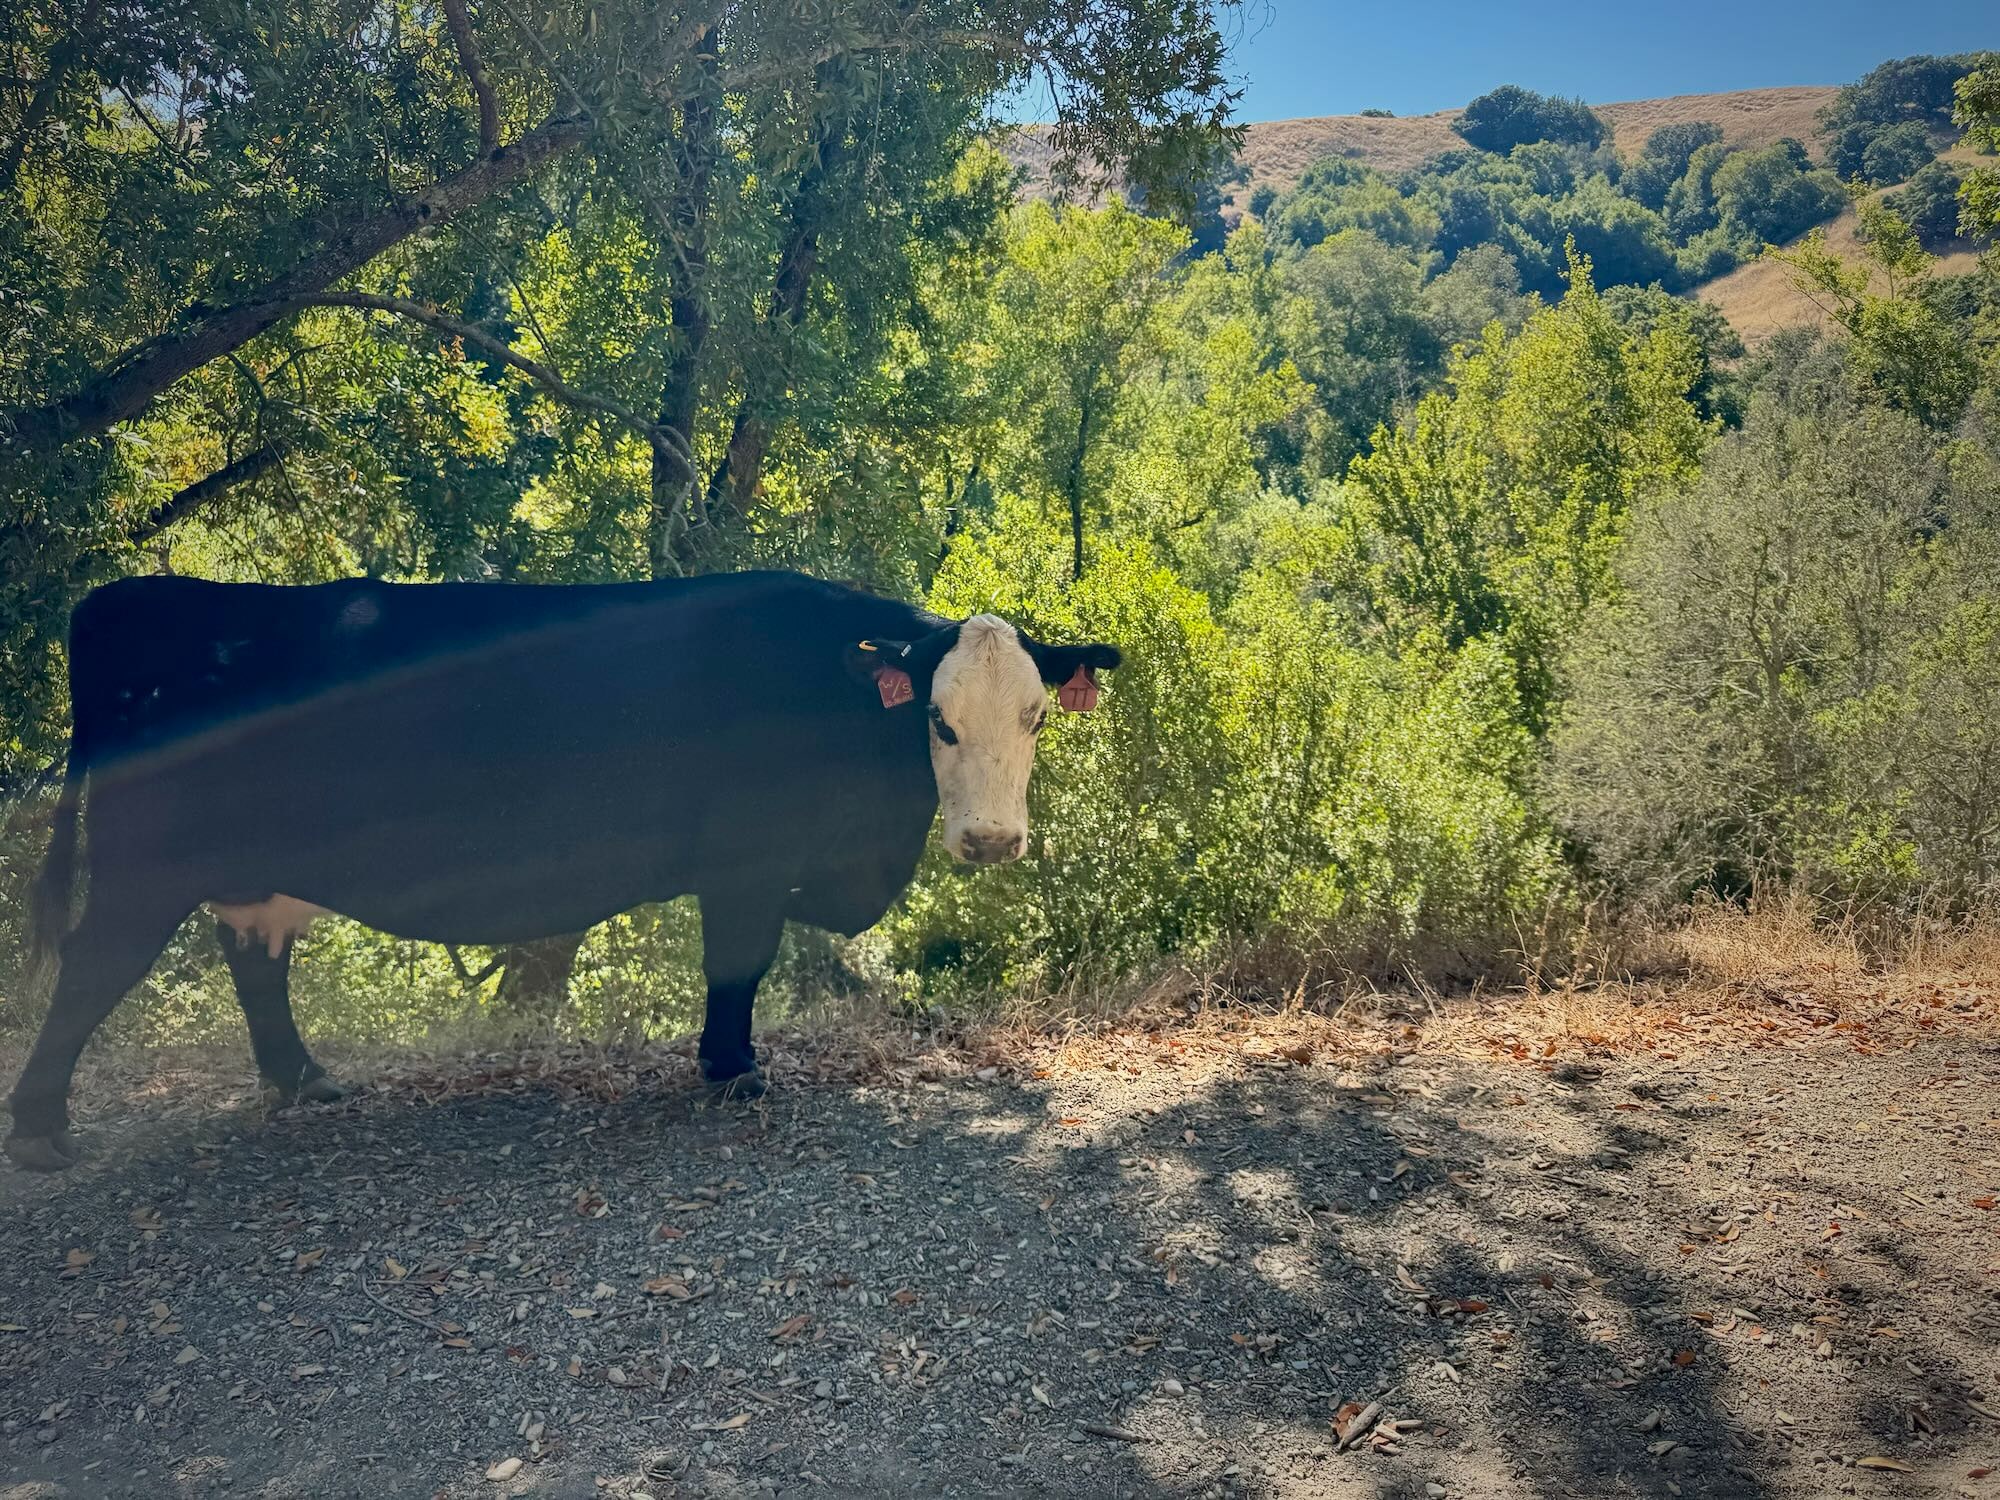
Occasionally a cow would come walking by and look surprised. Turkeys too; they made an appearance in one of my videos.
The best part? I felt really good at the end of each day.
If you want to see what a video course looks like where the talking head is outside, check out the Phlex on Rails video course ✌️.